
Helldivers 2 is a cooperative shooter where bad loadout choices and poor team awareness can collapse a squad fast. Going in without preparation means burning your team's Reinforce budget and getting voted out. This guide gets new Helldivers contributing immediately.
1. Stratagem Selection — What to Actually Bring
Stratagems are your four support slots — the combination you choose defines your role in the squad.
Best Offensive Stratagems
| Stratagem | Key Feature | Best Used For |
|---|---|---|
| Orbital Railcannon Strike | One-shot kills single targets, 300s cooldown | Chargers and tanks |
| Eagle 500KG Bomb | Destroys everything within 20m, one-use per reload | Large enemy clusters |
| Orbital Precision Strike | 120s cooldown, accurate delivery | Mid-tier enemy cleanup |
| MG-43 Machine Gun Sentry | Automated fire — watch friendly positions | Defense missions |
Best Support Stratagems
| Stratagem | Key Feature | Best Used For |
|---|---|---|
| Supply Pack | Infinite ammo resupply for self and nearby allies | Any extended mission |
| Shield Generator Pack | Absorbs damage — keeps you alive through chaos | High-difficulty missions |
| Guard Dog Rover | Auto-kills nearby melee threats | Terminid swarm defense |
Recommended Loadout for New Players
- ▶Slot 1: Orbital Airburst Strike (general area denial)
- ▶Slot 2: Eagle Airstrike (flexible multi-use)
- ▶Slot 3: Support Weapon call-in (MG-43 Machine Gun)
- ▶Slot 4: Supply Pack (solve your ammo problems permanently)
2. Mission Type Strategies
Eradication — Kill Count Missions
- ▶Goal: Eliminate X enemies within the time limit
- ▶Key tip: Don't all push one direction — split into two pairs to catch enemies from multiple angles and prevent them from routing
- ▶Never save AoE stratagems for "later" — this is exactly what they're for
Sabotage — Destroy the Objective
- ▶Goal: Destroy specific structures, then extract
- ▶Key tip: Call "FIRE IN THE HOLE" before detonating — team kills from explosives are most common in this mission type
- ▶After demolition, move immediately to extract — do not linger
Reconnaissance — Area Survey
- ▶Goal: Scan sectors and retrieve data
- ▶Key tip: Quiet movement is the strategy — avoid unnecessary combat to preserve stratagems for extraction
- ▶Patrol routes can be observed and bypassed — fighting everything is inefficient
Defense — Hold the Point
- ▶Goal: Protect an objective for a time limit
- ▶Key tip: Designate positions. Two Helldivers hold frontline, two rotate flanks
- ▶MG-43 Sentry is the highest-value pick for this mission type — place it on the most predictable approach
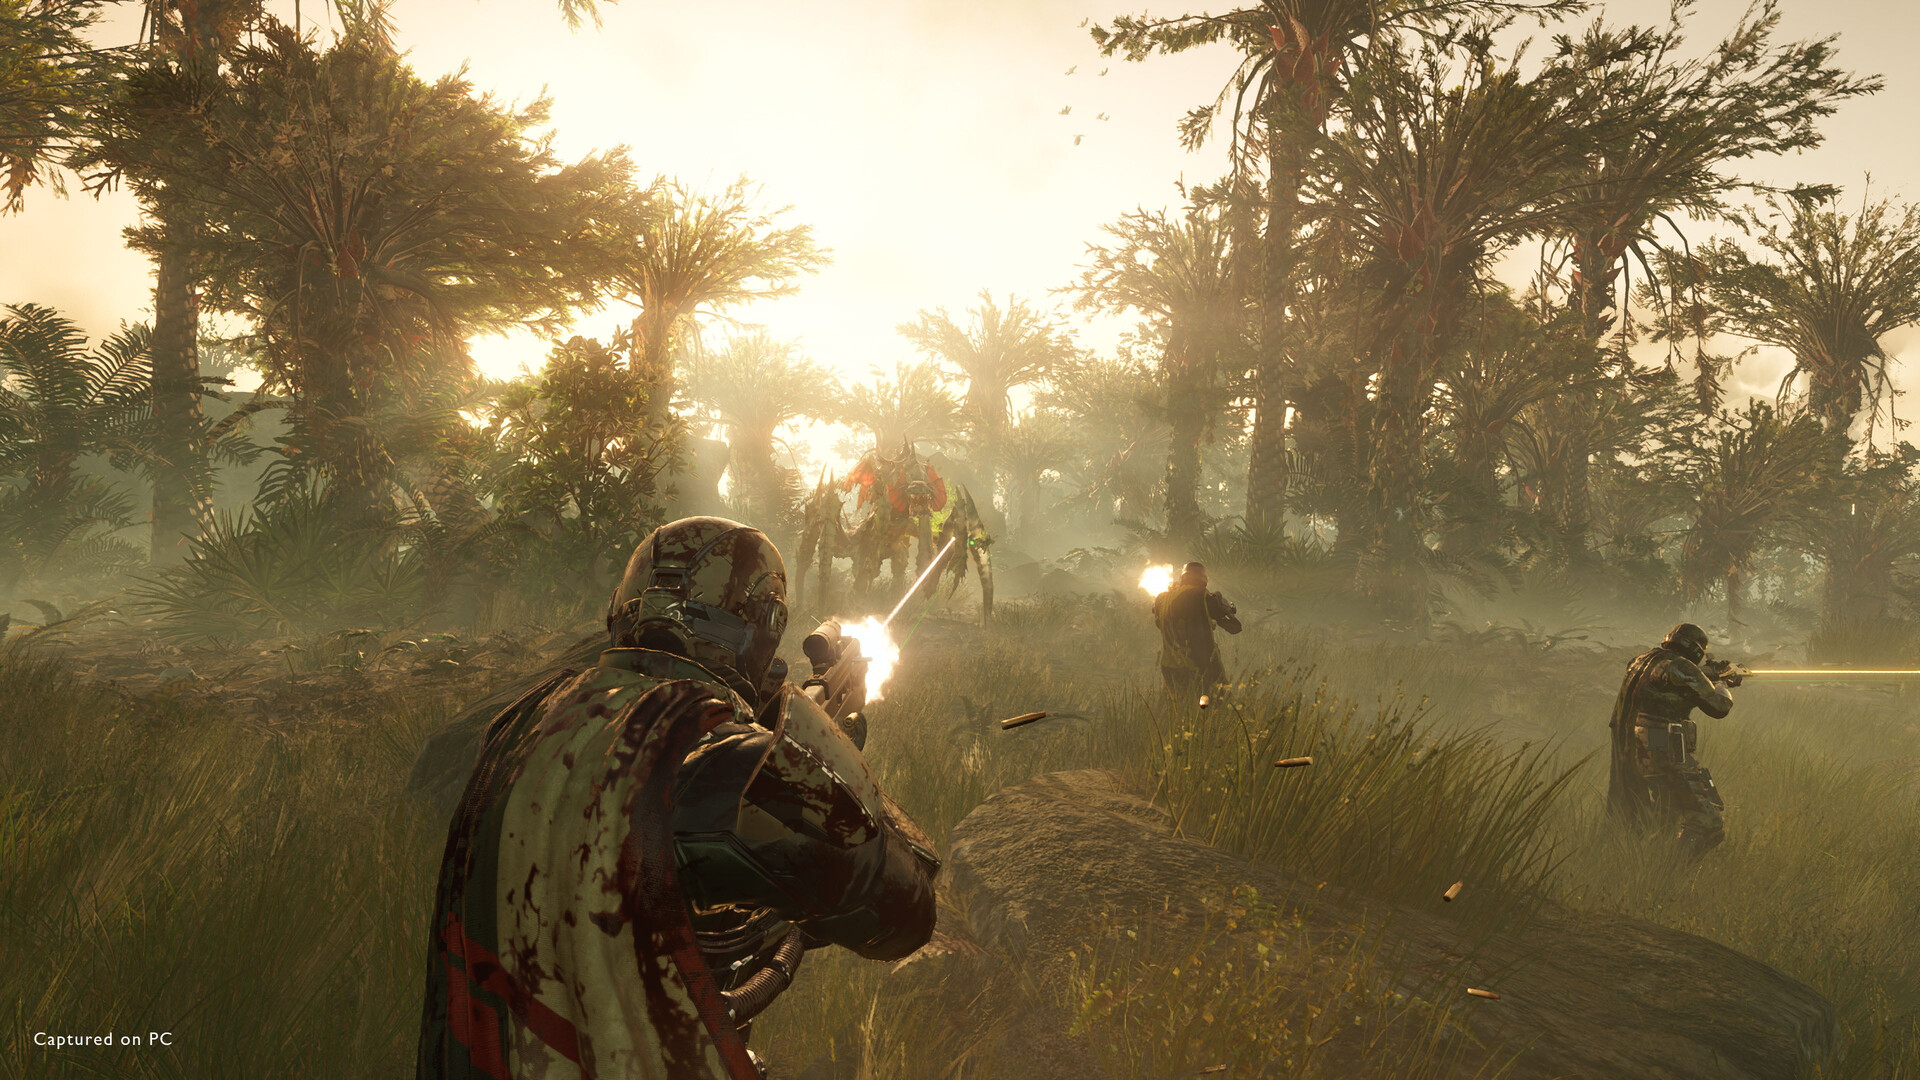
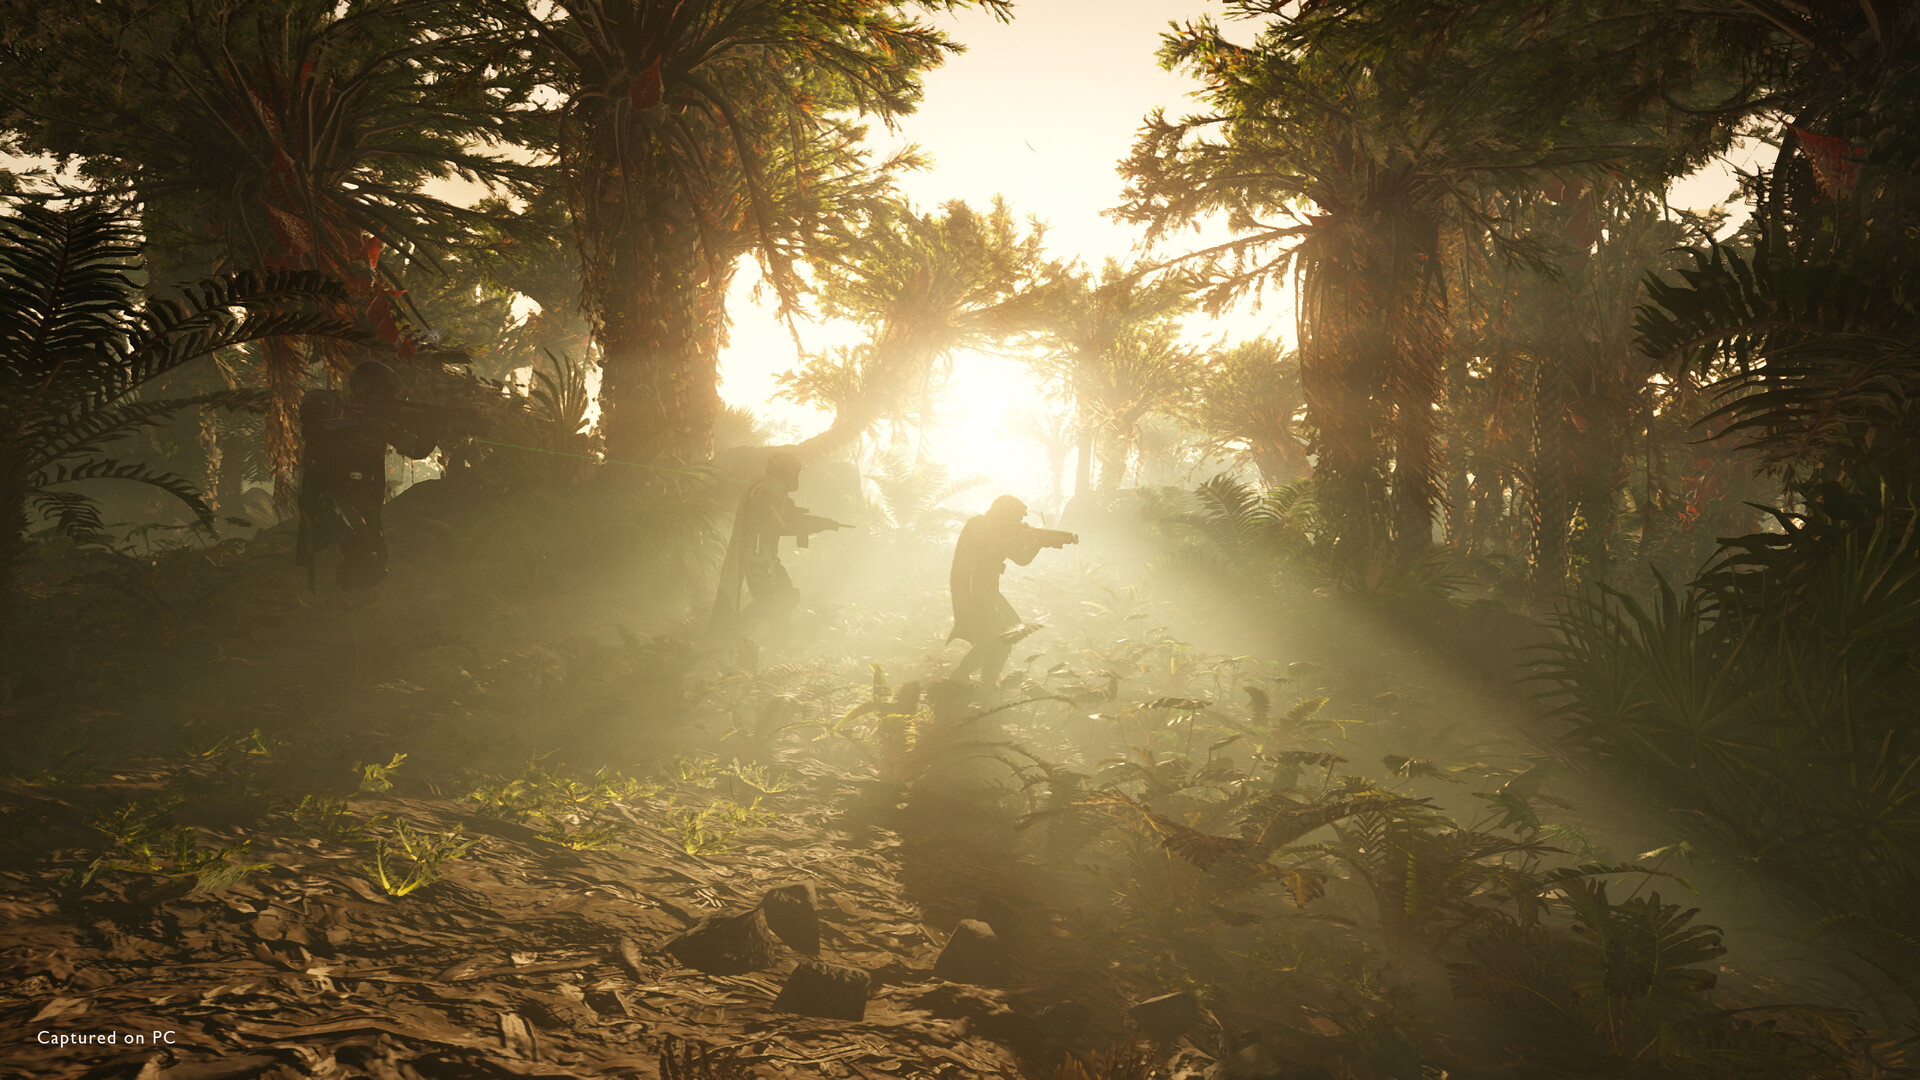
📸 Screenshots
3. Co-op Etiquette — Non-Negotiable Rules
Things That Will Get You Kicked
- 1Throw stratagems without warning: Always call out "INCOMING" before throwing any explosive stratagem
- 2Firing automatic weapons into crowds with allies nearby: Penetrating rounds cause the majority of friendly-fire incidents
- 3Calling in support weapons on top of teammates: Wait for clear space before calling reinforcements
Good Team Habits
- 1Check the map before calling extraction: Calling extraction when teammates are far away or surrounded forces a terrible choice
- 2Reinforce teammates into safe zones: Dropping allies into enemy crowds is a death sentence — look at the mini-map first
- 3Share supply pack usage: If you're running the Supply Pack, proactively resupply teammates who are low on ammo
- 4Use environmental audio: The sound of a Charger charging or a Bile Titan appearing gives 2–3 seconds of warning — stay alert
4. Gear Recommendations by Difficulty
Difficulty 1–3 (New Recruits)
- ▶Primary: Liberator (assault rifle) or Breaker (shotgun)
- ▶Secondary: Peacemaker — reliable, ammo-efficient
- ▶Grenade: Frag — versatile, forgiving
- ▶Armor: Medium — balances mobility and protection
Difficulty 4–6 (Intermediate)
- ▶Primary: Sickle (laser rifle) — unlimited ammo, manage heat
- ▶Secondary: Grenade Launcher — handles medium-armored enemies
- ▶Grenade: Incendiary — AoE damage for crowd control
- ▶Armor: Light — prioritize mobility at this tier
Difficulty 7–9 (Advanced)
- ▶Primary: Dominator — armor-piercing + high single-target damage
- ▶Secondary: Spear (missile launcher) — one-shots tanks
- ▶Grenade: Thermite — destroys tank structures and hulk armor
- ▶Armor: Passive-specific — e.g., Grenade Throw Distance +30%, or Extra Padding for high-damage resistance
5. Core Mechanics Every New Helldiver Must Know
- 1Friendly fire is real: Every explosive, bullet, and stratagem damages teammates. This is not optional game knowledge — it's the central skill of the game.
- 1Reinforce budget is shared: Your team has 4 total reinforce calls. Dying carelessly wastes a shared resource. Reckless play directly hurts your squad.
- 1Memorize stratagem inputs: The directional code sequences (up/down/left/right combinations) for your loadout should be memorized before your first mission — inputting them mid-combat under fire is the real skill.
- 1Hit the weak spots:
- Terminid Chargers: Exposed red abdomen sac (from behind or sides)
- Automatons Tanks: Rear cooling vent is the primary weak point
- Hulks: Eyepiece on the front, or rear exhaust grill
- 1Secondary objectives have rewards: Bonus objectives on the map contain Super Credits and Medals. If you have time before extraction, sweep for them — they fund your future upgrades.
Helldivers 2 is genuinely punishing when played without coordination but becomes deeply satisfying when a squad clicks. Learn the basics here, communicate in-game, and you'll be a welcome addition to any team. For Super Earth!