
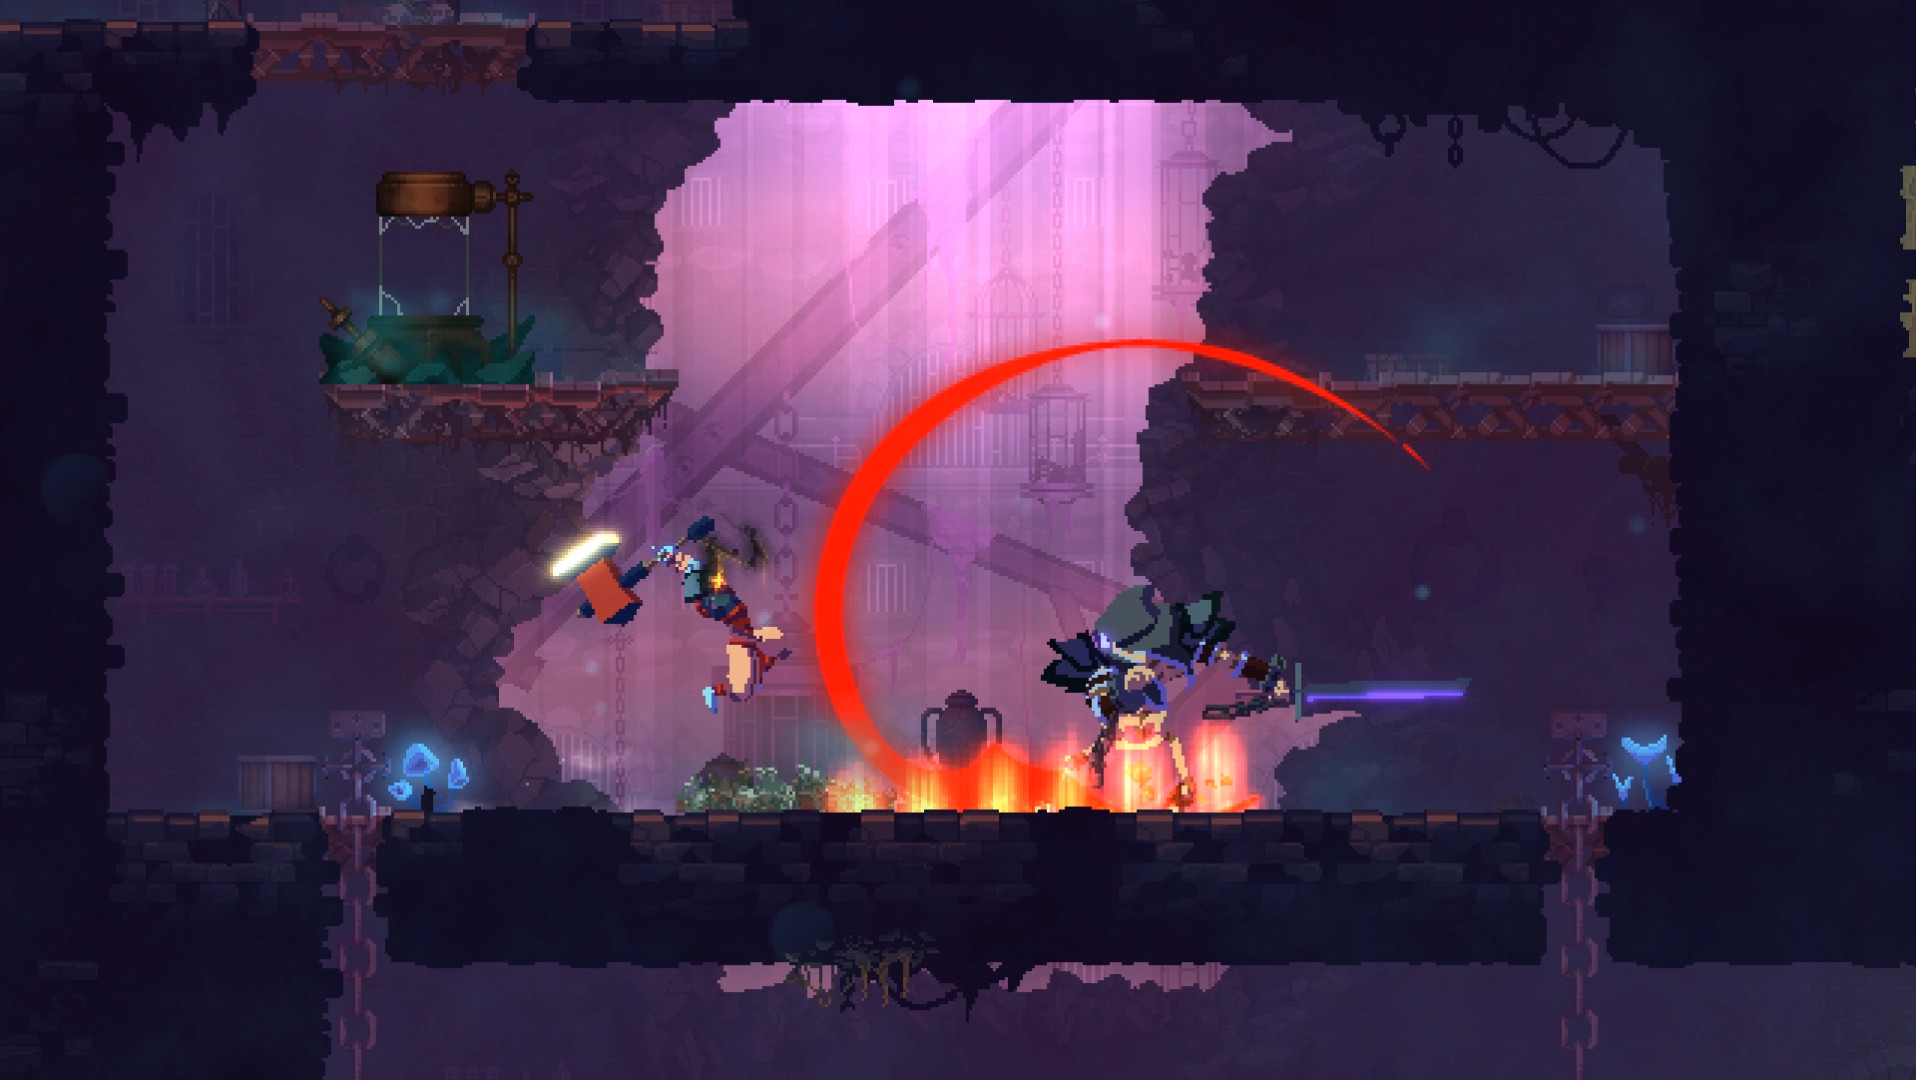
Dead Cells isn't just a skill-based dodge game — your weapon choice, scroll allocation, and mutation selections determine whether a run succeeds more than raw execution does. This guide covers the build principles and biome knowledge that push you toward consistent BC clears.
1. Core Build Principles
The Three Stat Colors
- ▶Red (Brutality): Melee weapons, direct damage, aggressive playstyle
- ▶Purple (Tactician): Traps, turrets, crowd-control, ranged builds
- ▶Green (Survival): Shields, HP recovery, defensive playstyle
The Scroll Concentration Rule
The most common beginner mistake is spreading scrolls evenly across stats. This is wrong.
- ▶Splitting 4 scrolls between Red and Purple = mediocre scaling in both
- ▶Putting all 4 scrolls into Red = your weapons deal roughly 40% more damage
- ▶Weapon scaling kicks in hard above 10 in a stat — concentration unlocks this threshold faster
Mutation Selection Rule
Filling all three mutation slots with the same color gives a multiplicative damage bonus. Mixing colors gives mixed results. Commit to one color.
2. Top Weapon Synergy Combinations
Build A: Red Brutality — "Bleed Factory"
Core Weapons: Wrenching Whip + Blood Sword
- ▶Wrenching Whip: Applies Bleeding (2% HP damage per second)
- ▶Blood Sword: Deals 2x damage to Bleeding enemies
- ▶Combined effect: Whip applies Bleed → Sword hits for double → bosses die in 5–6 hits
Recommended Mutations (all Red):
- ▶Predator: +30% speed for 20s after a kill — continuous uptime on mobile bosses
- ▶Vengeance: +100% damage immediately after taking a hit — punish aggressively
- ▶Berserker: Damage scales with missing HP — high-risk, high-reward closer
Scroll Priority: Red exclusively; Bleed damage scaling begins spiking noticeably above 10
Build B: Purple Tactician — "Trap Master"
Core Weapons: Toxic Sewage Sludge + Lightning Rune Trap
- ▶Toxic Sewage Sludge: Applies Poison + movement slow
- ▶Lightning Rune Trap: Deals 3x damage to Poisoned enemies (confirmed synergy tag)
- ▶Combined effect: Sludge applies Poison → trap detonates for triple damage → mid-bosses die to one trap cycle
Recommended Mutations (all Purple):
- ▶Predatory Instinct: +25% damage against enemies affected by any status
- ▶Venomous: Auto-applies Poison to all weapon attacks
- ▶Maw of the Deep: Additional Poison stacks per hit
Scroll Priority: Purple exclusively
Build C: Green Survival — "Shield Counter"
Core Weapons: Thunder Shield + Infantry Bow
- ▶Thunder Shield: Parry triggers a lightning explosion that stuns nearby enemies
- ▶Infantry Bow: +3x damage to Stunned enemies
Recommended Mutations (all Green):
- ▶Soldiers' Resistance: +25% status resistance
- ▶Tainted Flask: Potion use detonates an AoE on nearby enemies
- ▶Armadillopack: Shield parry window extends significantly
3. Early BC Setup (BC0–2 Guidance)
First Cells Spending Priority
- 1Weapon blueprints: Unlock early-synergy weapons first (Firebrand, whips, traps)
- 2Scroll capacity upgrades: More scroll slots = more stat investment per run
- 3Item collection upgrades: More items offered per room = better build selection
Best Starting Weapons
- ▶Firebrand: Fire AoE damage, ideal Red build starter
- ▶Valmont's Whip: Long reach, sets up Bleed synergy
- ▶Pistol Whip: 0 cost, fast attacks, good Purple build entry point
Scroll Acquisition Strategy
- ▶Parasite rooms: Risky modifiers but reward 3 consecutive scrolls — worth taking for strong builds
- ▶Secret rooms: Every secret room guarantees 1 scroll + 1 item. Always look for destructible walls.
- ▶Biome quests: Completing side objectives in each biome gives 1 dedicated scroll
📸 Screenshots

4. Biome-Specific Tips
Prisoners' Quarters (First Biome)
- ▶Focus on scroll collection over speed — this is your setup phase
- ▶Zombie enemies revive unless killed with fire or bleed — don't assume dead enemies stay dead
Toxic Sewers
- ▶Poison floor tiles deal HP loss per step — learn safe walking lanes before committing
- ▶High secret room density — smash walls aggressively to find hidden areas
Corrupted Prison / Ancient Sewers (Alternative Second)
- ▶Elite enemy density is highest here — ideal for scroll farming
- ▶Timed Doors: Moving fast through a biome opens time-locked doors with guaranteed upgrade items — never skip them
Ramparts (Ranged-Heavy Biome)
- ▶Ranged enemy clusters make melee difficult — this is where shield builds shine
- ▶If running a melee build, bring a ranged secondary weapon for this biome
5. Boss Pattern Breakdowns
The Watcher (Boss 1)
- ▶Pattern 1 — Rotating Laser: Move one platform in the direction the laser hasn't swept yet
- ▶Pattern 2 — Straight Beam: Move perpendicular to the beam direction
- ▶Pattern 3 (below 50% HP): Rapid multi-beam — use shield or roll through
- ▶Attack window: 0.5 seconds of recovery after every pattern ends — land 3 hits maximum before next pattern
The Concierge (Boss 2)
- ▶Has a fire-damage absorption shield that blocks most hits
- ▶Rule: Never attack while the shield is active. Wait for it to drop, then burst.
- ▶Circling the boss's perimeter naturally dodges his linear charge attack
The Giant (Boss 3)
- ▶Multiple full-screen attacks — stay near the upper platforms or walls
- ▶Foot stomp: Jump to avoid ground-level shockwave
- ▶Best attack window: After the double-arm slam — 2–3 seconds of complete vulnerability
6. What Changes at Higher BC Levels
| BC Level | Change | Adjustment |
|---|---|---|
| BC1 | Enemies +20% HP, some new patterns | Secure 1–2 extra scrolls per run |
| BC2 | Elite enemies appear more often, timed doors stricter | Never skip timed doors |
| BC3 | Enemy damage +30%, Cursed Sword mechanic | Avoid Cursed items unless build-critical |
| BC4 | Major HP/damage increase across the board | Synergy builds only — generalist fails here |
| BC5 | All bosses gain extra phases, 1–2 mistakes = death | Full pattern memorization required |
Understanding weapon synergies and the scroll concentration rule alone will get you comfortably through BC2–3. Beyond that, boss pattern mastery and tight build optimization are what separate BC4–5 players. Every death in Dead Cells is a lesson — the game rewards persistence with knowledge.